Let’s be honest. If you’re still sending business emails from a Gmail or Yahoo account, you’re leaving trust on the table. Creating a professional email address with Namecheap changes that instantly. A custom domain email like contact@yourbusiness.com signals credibility the moment it lands in someone’s inbox. And the best part? Setting one up with Namecheap is genuinely straightforward, even if you’ve never touched DNS settings in your life.
Why Does a Professional Email Address Actually Matter?
Think of it this way. Would you hand a business card printed on a napkin to a potential client? Probably not.
A generic free email address does something similar. It tells the world you haven’t committed to your brand yet. A custom domain email, on the other hand, shows you mean business, literally.
Studies consistently show that branded email addresses build more trust with customers than free-provider addresses. It’s not just optics; it directly affects open rates, reply rates, and even purchase decisions. For freelancers and startups especially, that perception gap can be the difference between winning and losing a client.
What Is Namecheap Private Email?
Namecheap is widely known as a domain registrar, but their email hosting service, called Private Email, is a serious product in its own right. It lets you create a custom domain email address and manage everything from a clean, user-friendly dashboard.
Private Email is ad-free, secure, and works across all devices. Whether you’re a solo freelancer, a small startup, or a growing team, Namecheap has a plan that fits. Their 2,000-member staff across 23 countries actually uses the same service internally, which is a good sign they stand behind it.


What Are the Namecheap Email Plans Available?
Namecheap Private Email comes in three tiers: Starter, Pro, and Ultimate. Each plan includes a 30-day free trial with no payment details required upfront, which is a genuinely low-risk way to test the service.
| Plan | Mailboxes Included | Storage | Aliases | Extras | Renewal Price | Additional Mailbox |
|---|---|---|---|---|---|---|
| Starter | 1 | 5 GB | Up to 10 | 30‑day free trial | $14.88/year | $8.88/year |
| Pro | 3 | 30 GB | 50 per mailbox | Mobile sync, shared calendars, contacts, tasks | $41.88/year | $25.88/year |
| Ultimate | 5 | 75 GB | Unlimited | Productivity suite (Docs, Sheets, Presentations) | $71.88/year | $39.88/year |
For context, Google Workspace starts at $7.20 per user per month. That’s over $86 per user annually. With Namecheap’s Starter plan, five inboxes cost around $50 a year. The cost difference is not small.
How Does Namecheap Email Hosting Compare to Free Email Services?
Free email services like Gmail and Yahoo are fine for personal use. For business, they fall short in a few key areas.
First, they don’t allow custom domain email addresses without a paid upgrade. Second, they come with ads, limited storage management, and less control over your email environment. Third, they offer no shared team tools, so collaboration requires workarounds.
Namecheap Private Email fills all those gaps. You get a branded address, clean inbox, team collaboration tools, and dedicated storage, without paying enterprise-level prices.
What Do You Need Before Setting Up Your Email?
Before you dive into the setup process, two things need to be in place.
A registered domain name. If you don’t have one, you can register it directly through Namecheap. Domains start at very competitive prices, and having both your domain and email under one account makes the DNS setup automatic in most cases.
A Namecheap account. If you already have a domain with Namecheap, you’re halfway there. Log in and you’re ready to go.

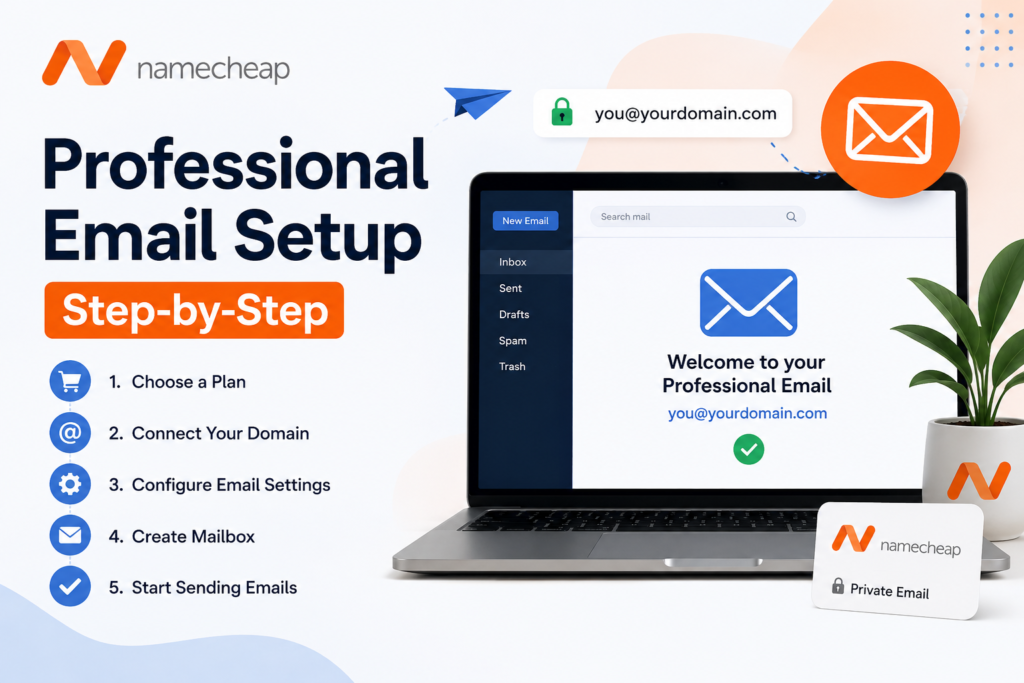
Step-by-Step: How to Create a Professional Email Address with Namecheap
Here’s the complete business email setup guide you need to get up and running.
1. Register or Use Your Domain
- Log in to your Namecheap account.
- Go to Domain List → click Manage next to your domain.
- If you don’t own a domain yet, register one first.
2. Purchase a Namecheap Private Email Plan
- Navigate to Email Hosting in the dashboard.
- Choose a plan (Basic, Professional, or Ultimate).
- Complete checkout and assign the plan to your domain.
3. Configure DNS Records
- Go to Advanced DNS in your domain settings.
- Add the MX records provided by Namecheap.
- This ensures your domain routes email correctly.
- Propagation may take a few hours.
4. Create Mailboxes
- In the Private Email dashboard, click Mailboxes → Create New Mailbox.
- Example: info@yourdomain.com, sales@yourdomain.com, or firstname@yourdomain.com.
5. Access Your Email
- Use Namecheap Webmail (mail.privateemail.com).
- Or configure in clients like Outlook, Thunderbird, or mobile apps using IMAP/SMTP settings.
6. Optional: Set Up Forwarding & Aliases
- Forward emails to another account if needed.
- Create aliases like support@yourdomain.com that point to your main inbox.
Is Namecheap Email Secure Enough for Business Use?
Security is not an afterthought here. Namecheap Private Email comes with two-factor authentication (2FA) across all plans. This alone dramatically reduces the risk of unauthorized account access.
All plans also include Jellyfish Anti-Spam Protection, a machine-learning-based filter that scans incoming emails, attachments, and links for threats. It’s self-learning, meaning it gets smarter over time based on your inbox behavior. According to TechRadar, an estimated 53% of the world’s emails are spam, costing businesses over $20 billion annually. Having active spam protection isn’t optional for serious business communication.
Namecheap also supports SMTP, IMAP, and POP3 with SSL encryption, so your data stays protected in transit.
Can Freelancers and Startups Benefit from Namecheap Private Email?
Absolutely. In fact, freelancers are among the biggest beneficiaries of affordable business email.
When you’re competing against agencies and established businesses for clients, every credibility signal matters. A professional email address is one of the cheapest and most impactful upgrades a freelancer can make.
Startups benefit similarly. Investor pitches, client onboarding, and vendor communication all carry more weight when they come from a branded domain. And since Namecheap’s pricing scales with your team size, you’re not overpaying when you’re small and not scrambling to switch platforms when you grow.


How Do Team Collaboration Features Work on Pro and Ultimate Plans?
The Pro and Ultimate plans include built-in tools that go well beyond basic email. These are genuinely useful for small teams.
Shared Calendars let team members schedule meetings, check availability, and stay synced without jumping into a separate calendar app. Contacts Management gives your team a shared contact list, so everyone is working from the same information. Task Management allows team members to create, assign, and track tasks directly from the email platform.
The Ultimate plan adds an integrated productivity suite with Docs, Sheets, and Presentations. It’s not quite Google Workspace in depth, but for a small team that needs basic document collaboration without a big subscription, it gets the job done.
What Happens If You Need More Than 50 Mailboxes?
Namecheap has a solution for that too. If you need more than 50 email accounts or want Private Email across more than 20 domains, you can reach out to their team directly for a custom enterprise plan. This makes Namecheap a scalable option even beyond the standard tier structure.
Their 24/7 customer support is available via live chat and an extensive knowledge base, which is particularly helpful when you’re configuring DNS records for the first time and need a quick sanity check.
What Makes Namecheap One of the Best Email Hosting Options for Small Businesses?
A few things stand out when you look at the full picture.
Transparent pricing. Unlike some hosts that lure you in with a cheap first year and triple the price on renewal, Namecheap Private Email is notably one of the rare products without a renewal price increase. What you see is what you pay, year after year.
No forced bundling. You don’t need to buy a hosting plan to get email hosting. The two products are sold separately, which gives you the freedom to use any web host and still get Namecheap’s secure email hosting.
30-day free trial. No credit card required. You get a full month to explore the platform, test the features, and decide if it’s right for you without any financial commitment.
Deliverability. Every Namecheap Private Email plan comes with proper SPF, DKIM, and MX record support, which are the backbone of good email deliverability. Your messages reach inboxes, not spam folders.
How Do You Set Up Email Aliases in Namecheap Private Email?
Aliases are virtual email addresses that funnel messages into your main inbox. They’re incredibly useful for keeping your primary address private or for routing different types of messages.
For example, you might set up sales@yourdomain.com, support@yourdomain.com, and hello@yourdomain.com, all forwarding into a single mailbox. The Starter plan supports 10 aliases per mailbox. Pro supports 50. Ultimate supports unlimited aliases.
To add an alias, go to your Private Email management dashboard, select your mailbox, and look for the Aliases section. Add the desired prefix and save. It’s done in under a minute.
What Should You Do After Your Email Is Set Up?
Setting up your email is just the beginning. A few quick steps afterward make a real difference.
Set up an email signature. Include your name, title, company name, and a phone number or website. It adds a layer of professionalism to every message you send.
Enable two-factor authentication. This is critical. Go to your account security settings and activate 2FA immediately after creating your mailbox.
Connect your preferred email client. If you live in Outlook or Apple Mail, configure your new mailbox there so the transition feels seamless.
Test your email. Send a message to yourself and a colleague to confirm delivery is working correctly in both directions.
Set up filters. Use Namecheap’s built-in filter tools to sort incoming emails by sender, subject, or keyword. A clean inbox from day one saves you significant time later.
FAQs
How do I set up a professional email in Namecheap?
To set up a professional email in Namecheap, purchase a business email plan, connect your domain, configure MX records, create your mailbox, and log in through Namecheap Private Email or your preferred email client.
Does Namecheap offer free professional email?
Namecheap provides a free trial for Private Email with some hosting plans, but most professional email accounts require a paid subscription for custom domain email addresses.
How much does a professional email cost in Namecheap?
The cost depends on the Private Email plan you choose. Namecheap offers different pricing tiers based on storage, features, and the number of mailboxes.
How do I connect my domain to Namecheap email?
You can connect your domain by updating DNS settings and adding the correct MX records in the Namecheap dashboard. This allows emails to route through your professional email service.
What are MX records in Namecheap email setup?
MX (Mail Exchange) records tell the internet where to deliver your emails. During Namecheap email setup, you must configure the correct MX records to send and receive messages successfully.
Can I use Gmail with Namecheap professional email?
Yes, you can connect Namecheap professional email to Gmail using IMAP or POP3 settings, allowing you to send and receive emails from your Gmail inbox.
How long does Namecheap email setup take?
Most Namecheap professional email setups take between 15 minutes and 24 hours, depending on DNS propagation after updating MX records.
Why is my Namecheap professional email not working?
Common reasons include incorrect MX records, DNS propagation delays, wrong email credentials, or incomplete domain verification.
Is Namecheap professional email good for business?
Namecheap professional email is suitable for small businesses, startups, freelancers, and personal brands that want a custom domain email address at an affordable cost.
How do I access Namecheap webmail?
You can access Namecheap webmail by logging into your Namecheap account and opening the Private Email dashboard or webmail portal.
Final Thoughts
A professional email address is not a luxury. For anyone running a business, freelancing, or building a brand, it’s a baseline requirement. Namecheap Private Email delivers a clean, secure, and affordable solution that works whether you’re a one-person operation or a growing team.
The setup process is beginner-friendly, the pricing is transparent, and the feature set covers everything from basic email to team collaboration. If you’ve been putting this off because it seemed complicated or expensive, the reality is much simpler than you think.
Getting a custom domain email is one of those upgrades that costs almost nothing but signals everything. Your inbox is ready when you are.