How to Connect QuickBooks Card Reader to Computer
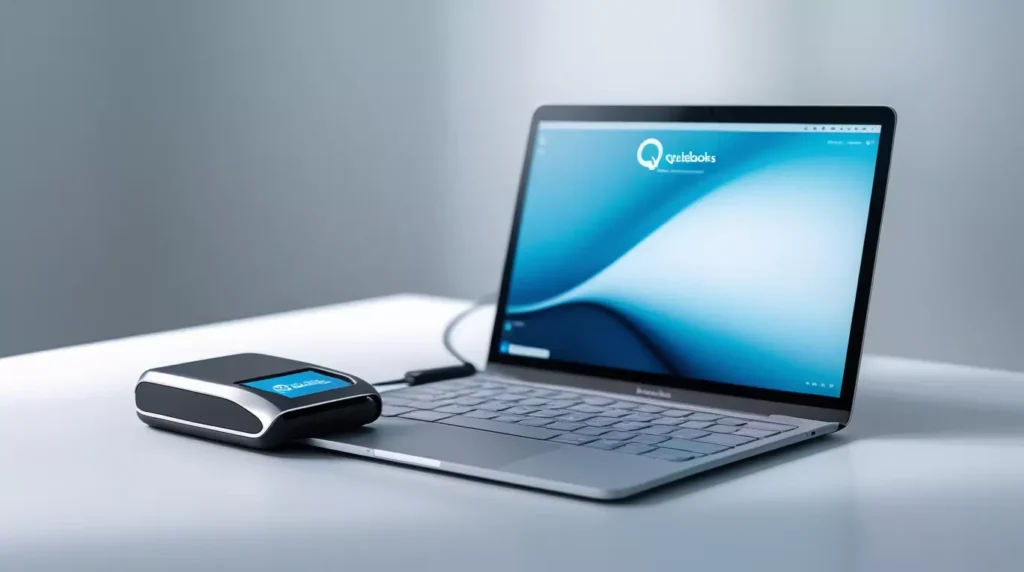
QuickBooks card readers are powerful tools for businesses that need to accept payments quickly and securely. Whether you’re running a small retail shop, offering freelance services, or managing an e-commerce store, integrating your QuickBooks card reader with your computer can streamline your payment process. In this guide, you’ll learn how to connect your QuickBooks card reader to your computer efficiently.
What is a QuickBooks Card Reader?
A QuickBooks card reader is a portable device designed by Intuit that allows business owners to accept credit and debit card payments. These readers support EMV chip, magstripe, and even contactless payments like Apple Pay or Google Pay. QuickBooks card readers integrate with QuickBooks Payments, allowing seamless recording of transactions directly into your QuickBooks account.
There are multiple models available, such as:
- QuickBooks Chip and Magstripe Reader
- QuickBooks GoPayment Card Reader
- QuickBooks Bluetooth Card Reader (Smart Card Reader)
Each has slightly different connectivity options, so it’s important to understand your device’s specifications.
Prerequisites Before Connecting
Before you start, make sure you have:
- A QuickBooks Payments account already set up and verified.
- The QuickBooks Desktop or QuickBooks Online app installed and updated.
- Your card reader fully charged or connected to a power source.
- A computer with Windows or macOS and Bluetooth or USB ports, depending on your reader.
- A stable internet connection.
Step-by-Step: How to Connect QuickBooks Card Reader to Computer
Step 1: Identify Your QuickBooks Card Reader Model
Check the box or the back of your device to know the model. Most modern QuickBooks readers connect via Bluetooth, but older versions may require USB. Knowing the model helps follow the correct steps.
Step 2: Install or Update QuickBooks Software
To ensure compatibility:
- Download the latest version of QuickBooks Desktop or QuickBooks GoPayment app.
- If you’re using QuickBooks Online, make sure your web browser is updated.
- Login to your QuickBooks account to verify everything is working before connecting the card reader.
Step 3: Turn On the Card Reader
- For Bluetooth readers, press and hold the power button until the LED light blinks.
- For USB card readers, plug them into a USB port on your computer.
Ensure the device is charged or powered.
Step 4: Enable Bluetooth or Connect via USB
For Bluetooth Readers:
- On your computer, go to Bluetooth settings.
- Look for the QuickBooks Card Reader in the list of available devices.
- Click Pair or Connect.
- Wait until the device shows as “Connected.”
For USB Readers:
- Simply plug the reader into a USB port.
- Windows or macOS will attempt to install necessary drivers automatically.
- Once the device is recognized, you’ll see a confirmation notification.
Step 5: Launch QuickBooks and Link the Card Reader
- Open your QuickBooks software.
- Navigate to the Sales Receipt or Receive Payment section.
- Click on “Select a Payment Method” and choose Credit Card.
- QuickBooks will automatically detect your connected reader.
- If it asks for permission to access the card reader, click Allow or Yes.
Step 6: Run a Test Transaction (Optional)
To ensure everything is working:
- Create a dummy sales receipt.
- Swipe, insert, or tap a test card.
- Complete the transaction and check if it reflects in your QuickBooks account.
This step confirms that your connection is successful and your card reader is functioning properly.
Common Troubleshooting Tips
If you face any issues while connecting:
- Restart your card reader and computer.
- Update QuickBooks software and system drivers.
- For Bluetooth issues, try unpairing and re-pairing the device.
- Make sure no other app or device is trying to connect to the reader.
- Contact QuickBooks Support if the device isn’t recognized after all steps.
Why Connect a QuickBooks Card Reader to Your Computer?
Connecting your card reader to your computer enhances your business operations by:
- Allowing faster checkout and secure payments.
- Automatically syncing sales data to your QuickBooks account.
- Minimizing errors in manual entries.
- Supporting contactless and chip card transactions.
- Making accounting more seamless and efficient.
Final Thoughts
Setting up your QuickBooks card reader with your computer is a straightforward process that brings massive benefits to your business. By following the steps above carefully, you can ensure a secure and smooth payment experience for your customers while keeping your records clean and up-to-date in QuickBooks. Whether you’re at the office, a market stall, or working remotely, this integration empowers you to accept payments with confidence and accuracy.
Keep your software updated, charge your devices, and regularly check connectivity to avoid hiccups – and you’re good to go.


